


How to change the skin in KLauncher?

In this article we will take a closer look at the possibility of changing skins, their variations and installing your own skin.
Many players want to somehow stand out on Minecraft servers with a unique skin. Now we will tell you how to install the skin if you use KLauncher.
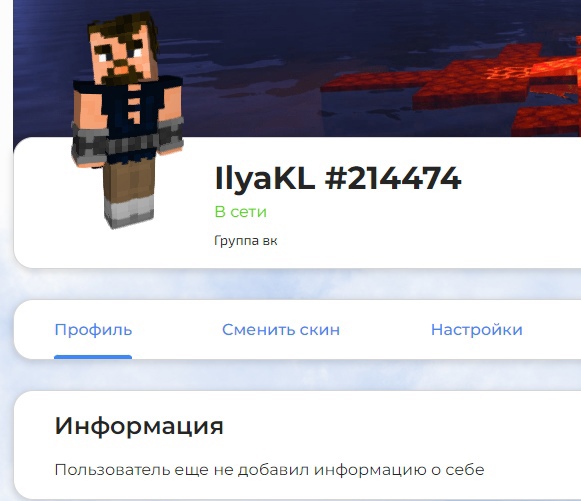
First, let's go to our website and go to your personal account.

Below we will find the "change skin" button. Click on it and get to the edit skin page.
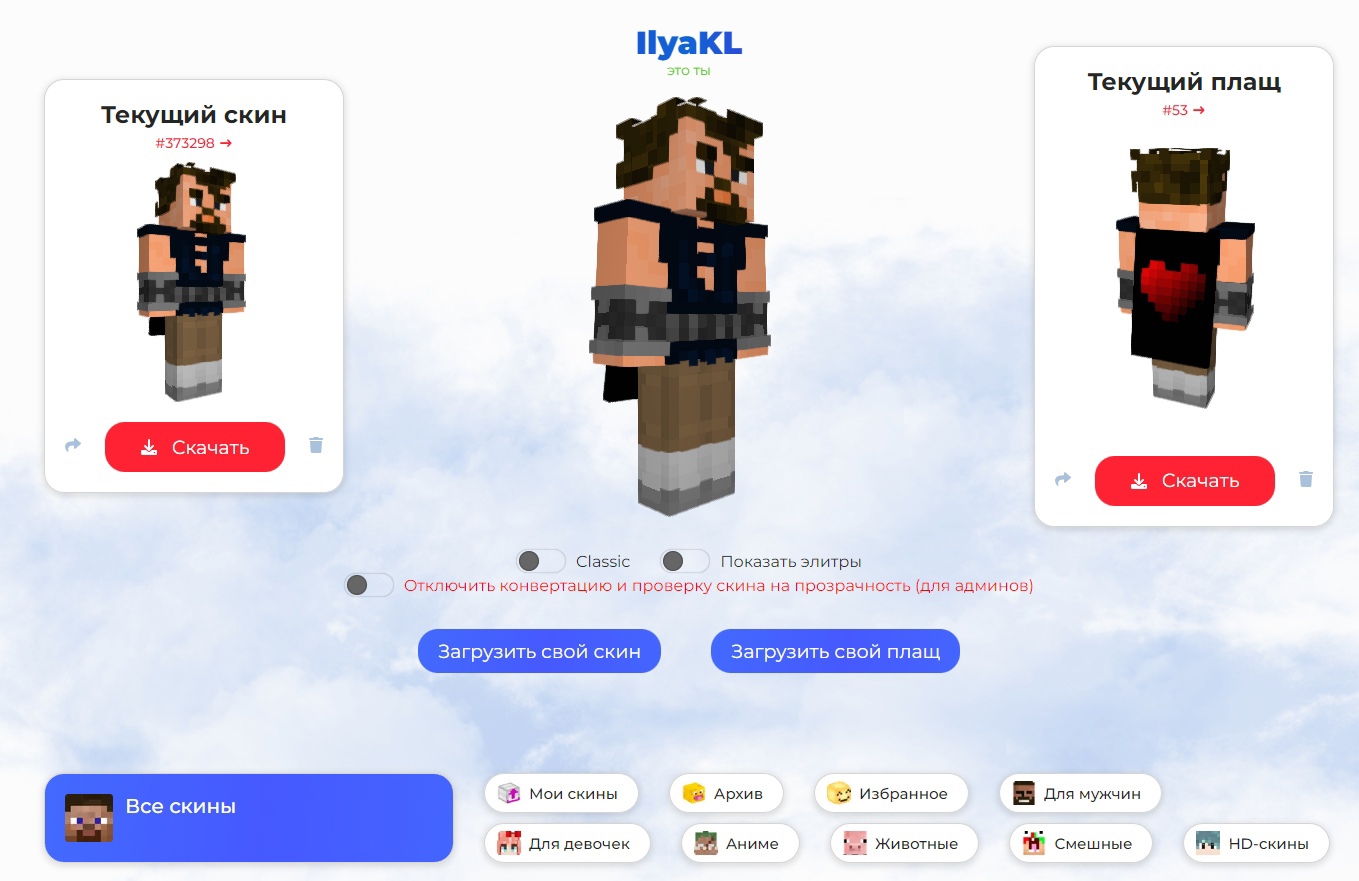
The classic/slim switch is responsible for the thickness of your skin's arms. You can put a ready-made skin, which is offered by our website. There is a sorting by category: popular, anime, animals, etc. The skins you used to use are stored in the archive. If you liked several skins, or you use different ones for several servers, you can add them to the favorites category. The uploaded ones store the skins you downloaded yourself.
But how to upload your own skin? In Google we are looking for the one you are interested in. For example, I was interested in the skin on its image from the game Genshin Impact. We find the site and download the skin from there.

All downloaded skins will be in PNG format and will look like a scan.

Now go back to our website and click the "upload your skin" button. Find the download folder and select it.

It's done! You downloaded the skin yourself. It has already appeared in the "downloaded" section.

If the skin is not displayed:
Check if the skin system is enabled in the launcher (the "Use the KLauncher skin system?" lever).

You must also be logged in to the launcher. To do this, you need:
1) Click on the account manager button.

2) Select the authorization method.

3) Enter data from your account.

And there should be no mods that affect the change of skins!
Any other questions? Set them in our group in Vkontakte.

